Use the Set Scaling command or the Set Scaling icon to set the display factor to a specific, consistent size. For example, if you want to print two or more files at the same scale, you must set the scaling for each file to the same amount.
To set scaling:
- Select Tools>Set
Scaling or click the Set Scaling
icon
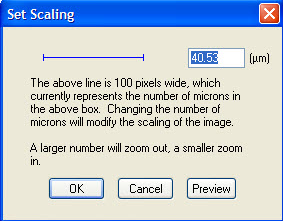
 . Neurolucida Explorer displays
the Set Scaling dialog box
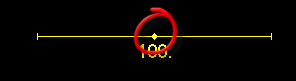
. Neurolucida Explorer displays
the Set Scaling dialog box  with
a sample line and the current length of that line in microns, according
to the current scaling factor.
with
a sample line and the current length of that line in microns, according
to the current scaling factor. - In the text box, type a new scaling factor.
- Click Preview. Neurolucida Explorer scales the current image to the new factor.
- Click OK to accept the new scaling factor or type a new scaling factor and preview it again.
 .
. .
.